Showing posts with label photography diy. Show all posts

Wednesday, January 22, 2014

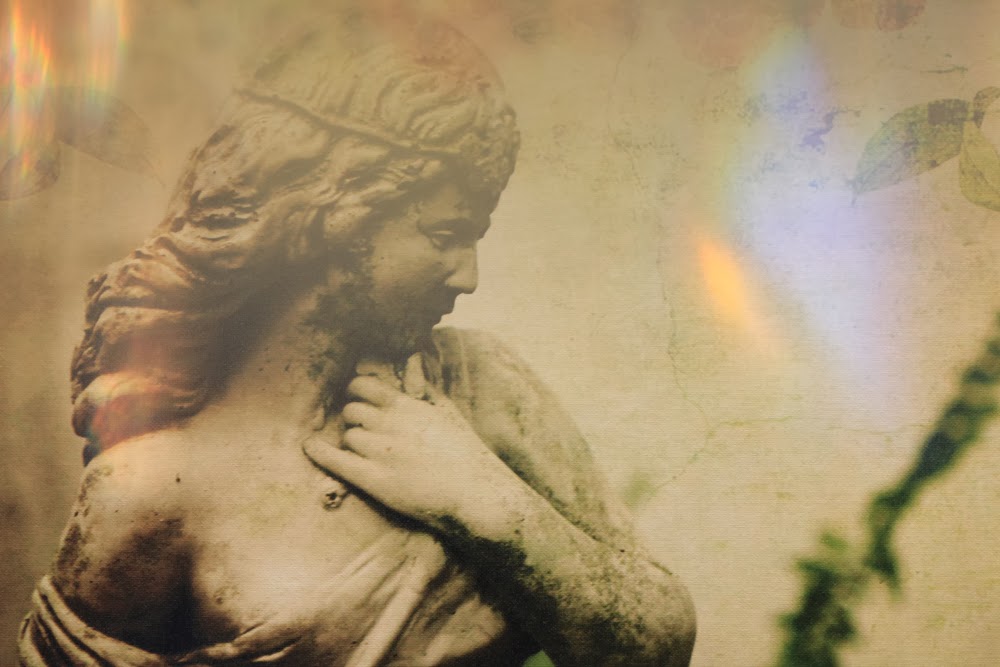
prism photography :: photography diy


love a good sun flare & blur? me too! and i've found a great way to accomplish this effect INDOOR without using photoshop. simply use a prism like this one. here are the details:

  1. set up your shot
  2. manually focus
  3. using your free hand, place the prism in front of your lens
  4. as you move it up/down, left/right you will see you image distortion and beautiful "sun flares"
easy right? well, whatcha waiting for?... go experiment! 

Wednesday, April 10, 2013

sandwich bag photography :: diy photography :: central illinois photography


do you admire the ethereal feeling some fine art photographs have?  well, i'm going to share a little secret with you today!  you don't need photoshop or any other fancy photo editing software to achieve this affect.  instead, simply wrap a plastic sandwich bag around your lens.  if you are really feeling creative, you can even color the bag a bit with marker to add a bit of foggy color to your photographs.

diy:

  1. save your sandwich bag from lunch
  2. cut hole slightly smaller than the diameter of your lens into bag
  3. color with marker (optional & messy)
  4. slide onto lens so that hole is centered(ish) and you can view your subject
  5. snap away (it might be easier to use manual focus)
if you give this a try, i would love to see your results!  share on cp :: photography's facebook page!

Tuesday, August 14, 2012

digital double exposure :: photography


for most of us, the days of traditional double exposure are long gone with film. the good news is that there is also a way to achieve this effect using 2 different photos and photoshop...

1. begin with a landscape photo of your choice.
2. in photoshop, layer a second photo on top.  this photo must have a bright background.  to avoid the window panes like in the above photo, you can take the picture against a white wall.


3. position the second photo then begin playing with this layers blending mode.  i tend to prefer 'overlay' or 'screen'.
4. to finalize, you can then adjust levels, contrast, etc. until you get the look that you want.  on the image below, i even added a bit of text.


happy photographing!